SLJ: Toi Te Taniwha – Step it Up

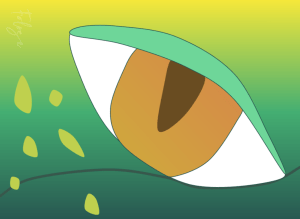
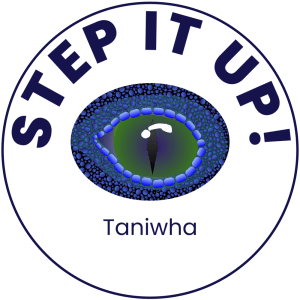
For this SLJ activity, I was challenged to draw a taniwha karu (eye) based on one of the books that were linked. I chose to do my drawing based on the book ‘Te Taniwha Warewaretia’. I took a screenshot of the taniwha I was going to draw and I drew it based on the screenshot I took. I used the pen tool to take the colours from the image, and to make a gradient using the colours I got. Then, I drew on the eye and the eyelid. Then I added the spots for the side details and a line to represent the bit that goes under the eyes and nose. Lastly, I added my signature to signify that I drew it. Something I found difficult was the eye formation. Because I couldn’t get the angle right, but in the end I found the right angle.

I found this activity interesting because I got to make my own taniwha karu based on a book I listened to.
SLJ: Toi Te Taniwha – Kick Start

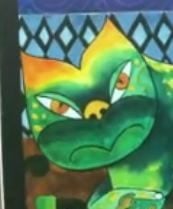
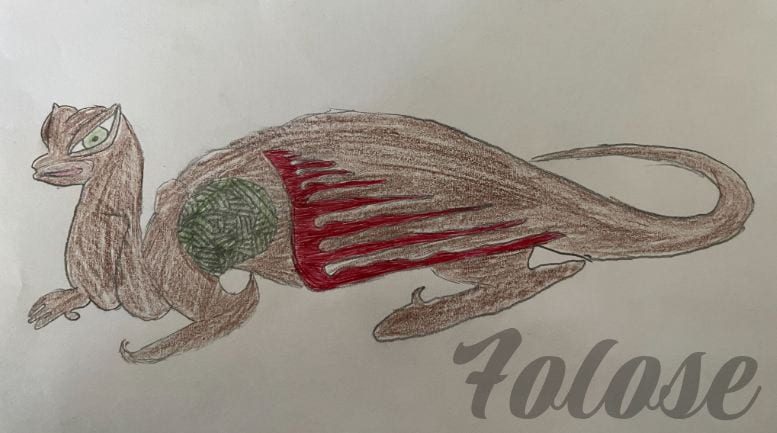
For this SLJ activity, I was challenged to draw a taniwha based on one of the links provided on the Toi te Taniwha activity. I decided to base it on the book Taniwha. I drew the image of when the Taniwha had the boy riding on the crook of his neck, but I drew it without the boy on it. Thanks to the reference, I was able to draw my taniwha accurately. I chose to make the taniwha brown, with a green design and red wings. Something I found difficult had to be drawing the taniwha because I’m not the best person at art, but it turned out somewhat good.

I found this activity because I got to listen to the book and draw my own taniwha based on the book that I just listened to.

SLJ: Seaside Maths Quest – Kick Start

For this SLJ activity, I was challenged to find shapes and patterns around me that fit in the things I’m supposed to find. For example a star shape, I found a starfish croc charm, so I took an image of it and wrote a small description about the object and why I chose it. If I didn’t have a star shaped object in the moment, I could use one from google.

I enjoyed this activity because I got to go on a Shapes and Patterns hunt, just in my surroundings!

SLJ: Pirate Treasure Map – Step it Up

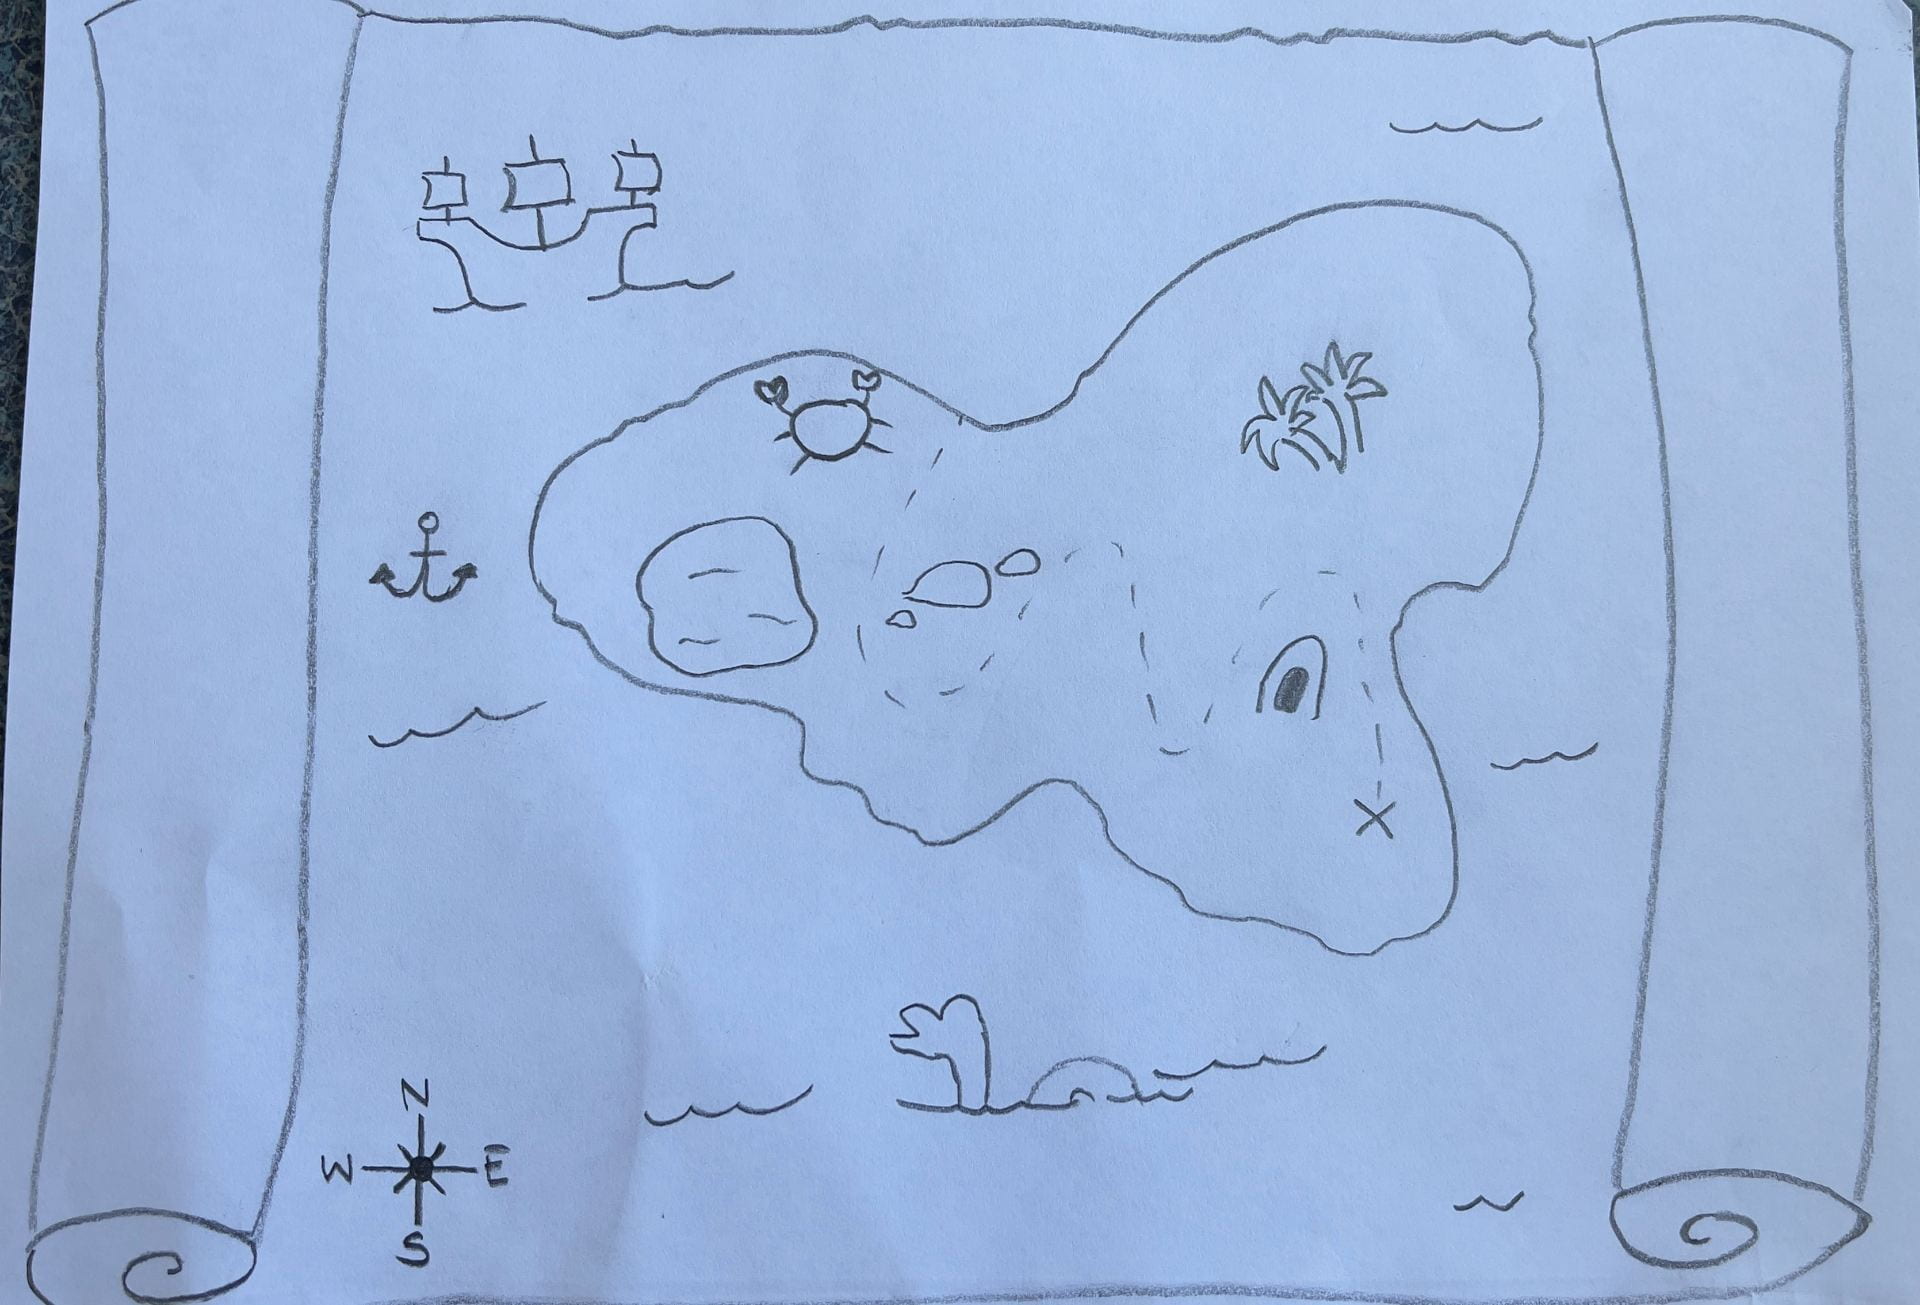
For this SLJ activtiy, I was challenged to make my map (that I made in the Kick Start activity) look old and creased. Thankfully, there was a video that I could use to watch. While I was watching, I saw that you needed a tea bag, but I didn’t have tea available. So I used the next best substitute, Coffee. I used Coffee and I was able to change the colour of the coffee by either adding more water, or Coffee. Then, I left it out in the sun to dry. Once it was fully dry, I took it out from the sun and started scrunching it to give it that old look.

My map on the left seems more simple, but the map on the right looks more ‘ancient’ and old because its scrunched up and has a more ‘old’ colour. I used coffee to colour it brown. Something I’m proud about is the huge change that I made from my left to right. Because my right one is more scruffy and old, while the one on the left has more of a modern vibe.

I found this activity interesting because I got to make my own ancient map, as well as comparing my maps and their differences.

SLJ: Pirate Treasure Map – Kick Start

For this SLJ activity, I was challenged to draw a Pirate Treasure Map (literally the title of the activity). But before I started, I got to learn about whether Pirates really bury their treasures. What do you think? Do you think that they bury their treasures? Comment your answers.

Anyways, after learning about that, I started drawing my map using a pencil and a piece of paper. Thankfully there was a video provided, so I used that to draw my map. This activity wasn’t that difficult since the tutorial on drawing the Pirate Map was simple and easy to follow the instructions.

This activity was interesting because I learnt about whether Pirates really bury their treasures. I still need your answer, do YOU think that they bury their treasures?

SLJ: Submarine Fun – Kick Start

For this SLJ activity, I was challenged to draw a submarine either using pen and paper, or using Google Drawings. Thankfully there were videos and step to step instructions to make a submarine. I decided to make it based on the video, but not exactly the same, to create a challenge. First, I copied the shape of the submarine, and the propeller shown in the step to step instructions. But, I decided instead of 3 windows, why not 2. And instead of the top bit facing the left, I drew it facing the right. Then, I chose what colours to use and came up with a name for my Submarine.

I found this activity fun because I got to draw my own Submarine, and adding a bit of a challenge on the way.

SLJ: Waka – Step it Up

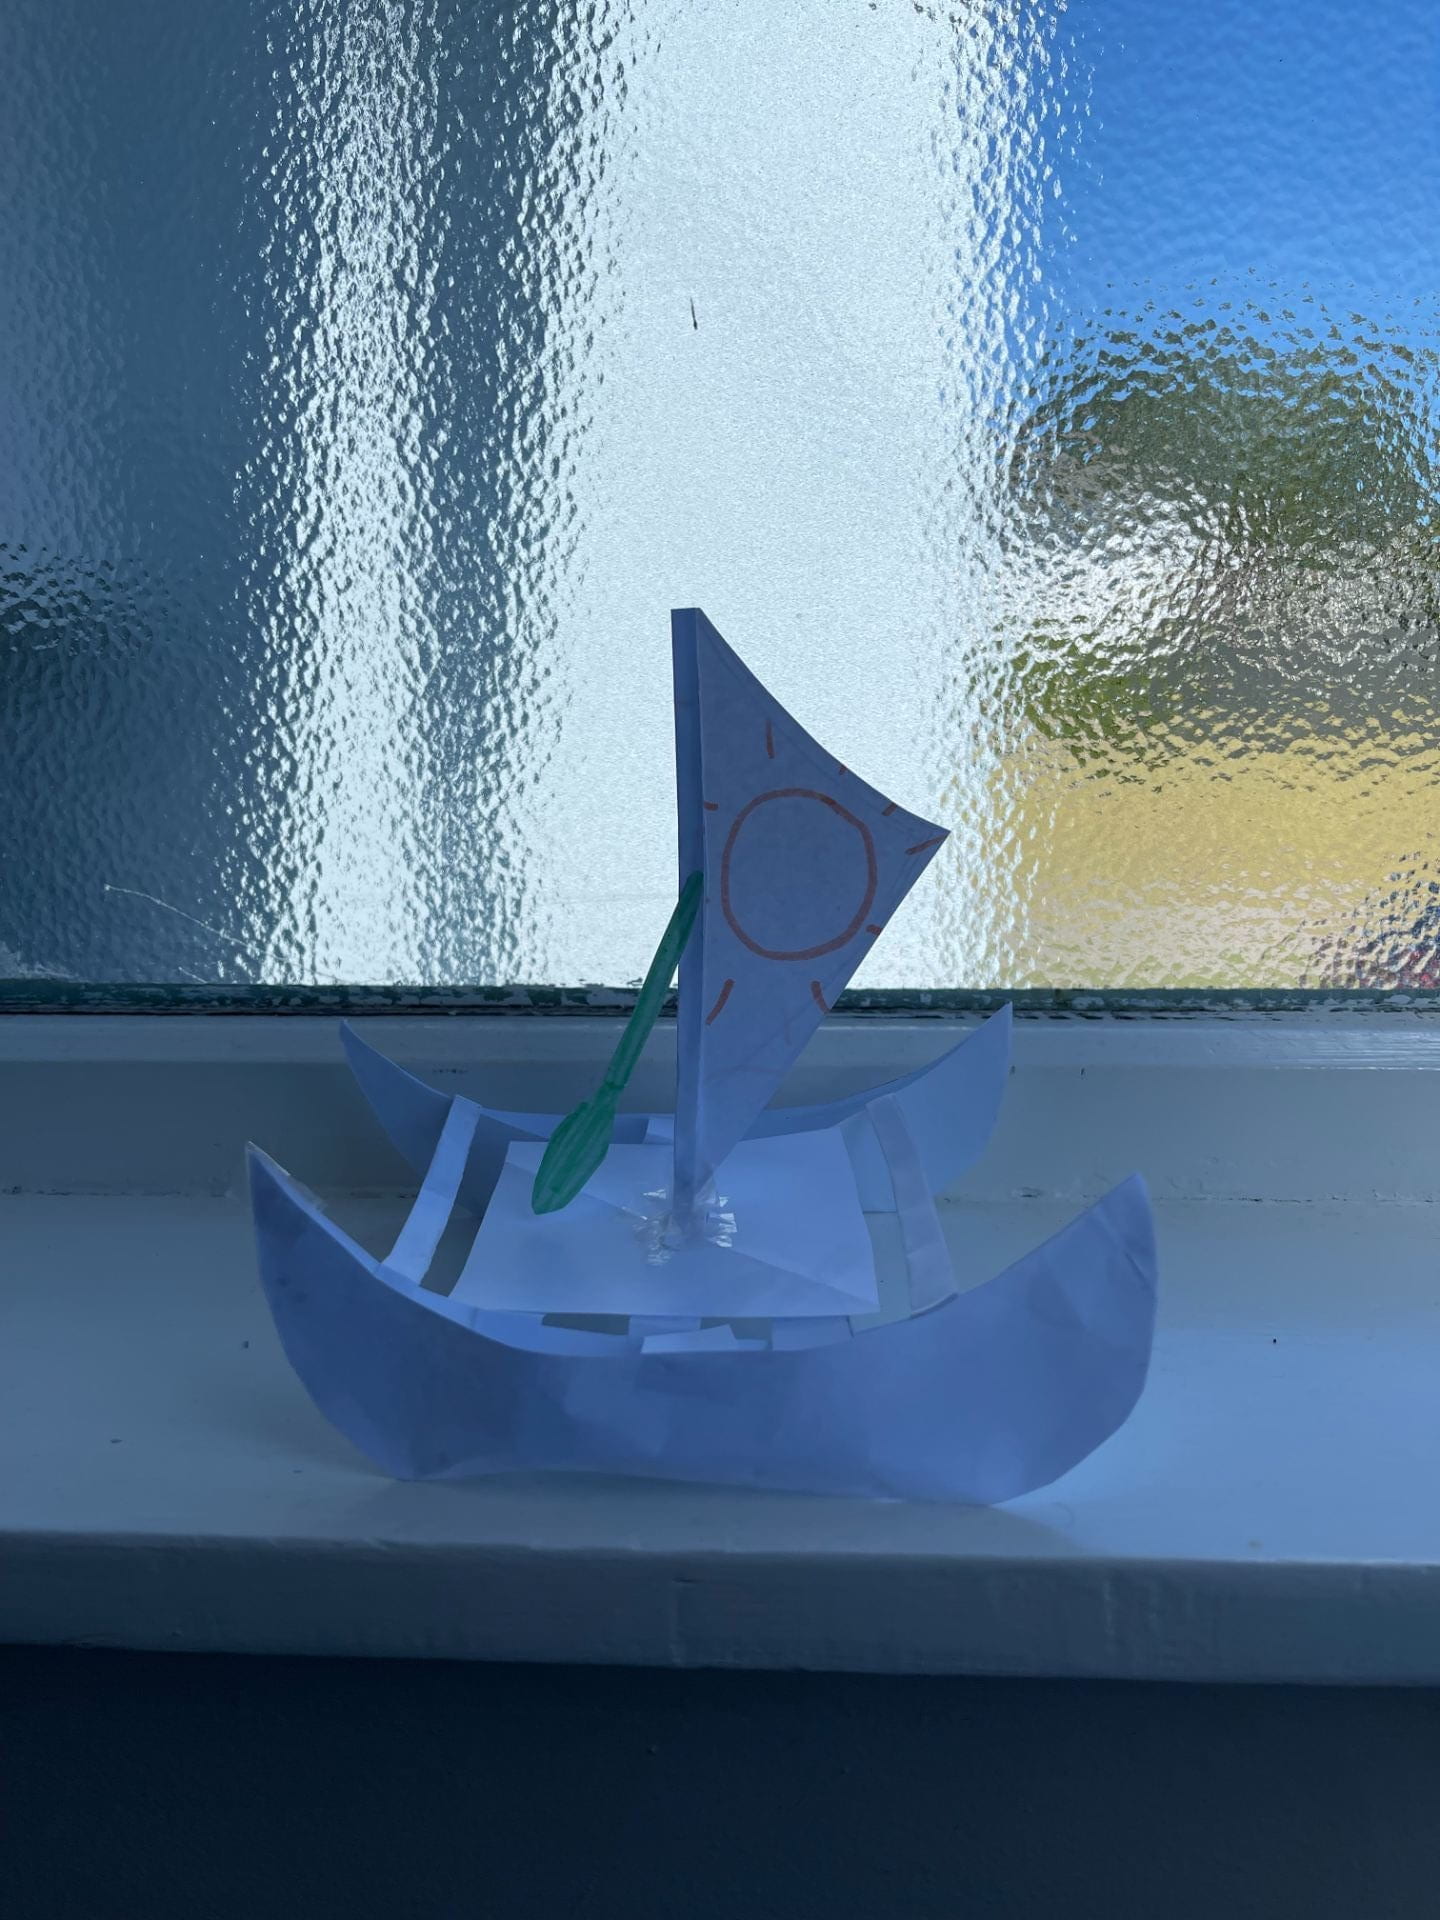
For this Summer Learning Journey activity, I was challenged to create either a Waka out of popsicle sticks, or paper. I decided to make it out of paper (if you couldn’t already tell) since I didn’t have popsicle sticks around. There was a video provided, so I use that. But the video only showed how to make a canoe. So, I made 2 canoes and connected them with 2 pieces of paper. I made a deck for my Waka and added it on using a glue stick. It wasn’t sturdy enough so I used strips of paper to stable it. Then, I made a sail for my Waka and added a sun as decoration. Lastly, I made a steering paddle as a final touch. Something I found difficult was keeping it sturdy, and to solve that, I used extra strips of paper to make it stable.

I enjoyed this activity because I got to use my knowledge of Wakas to include what parts I need in my paper Waka.

SLJ: The Big Deep – Step it Up

For this SLJ activity, I was challenged to create a board game inspired by the different layers of the deep sea using Google Drawings.

Before I started, I looked at some websites for information and took inspiration from the example given. Then, I started creating the background of my game. Once I got my backdrop done, I decided on what shape it would be and I chose to do a worm looking shape. Then, I made up some rules and started on my board game. I wrote things on some boxes and added some sea creatures (flounder and the shark). Lastly, I added images of deep sea creature and as a final touch, I drew a simple boat on the top as well as the title of my game.

I enjoyed this activity because I got to make my own board game based on the knowledge I learnt about the deep sea.

SLJ: The Big Deep – Kick Start

For this Summer Learning Journey activity, I was challenged to make a ugly, deep sea creature. But before I started, I went onto the links provided on the activity to get inspiration and ideas. As well as going on the internet for ideas. Then, I started making my creature. First, I decided that it will be an anglerfish but with other sea creature’s physical features. Such as, the arms of an Octopus, the nose of a long nose sawshark, and patterns. Then, as a final touch, I added a flashlight.

My deep sea creature is called fumples. They deal with the darkness in the deep with their little light hanging from their head. They prefer being alone, so it isn’t much of a problem since there isn’t many sea creatures in the deep sea.

I found this activity interesting because I got to make my own deep sea creature, as well as how they can survive with the loneliness, and darkness.

SLJ: Waka – Kick Start

For this SLJ activity, I was challenged to design my own waka, and label parts of my Waka. But before I start designing, I have to know what parts are what, and a few things about wakas. Thankfully, there were videos linked to the activity, so I watched those. Then, I went onto Google to take inspiration. I found a few I liked and based my Waka on them. I make sure to label the parts, and added a background to make it POP!

I found this activity interesting because instead of just designing my own Waka, I learnt a few things on a way, thanks to the videos.